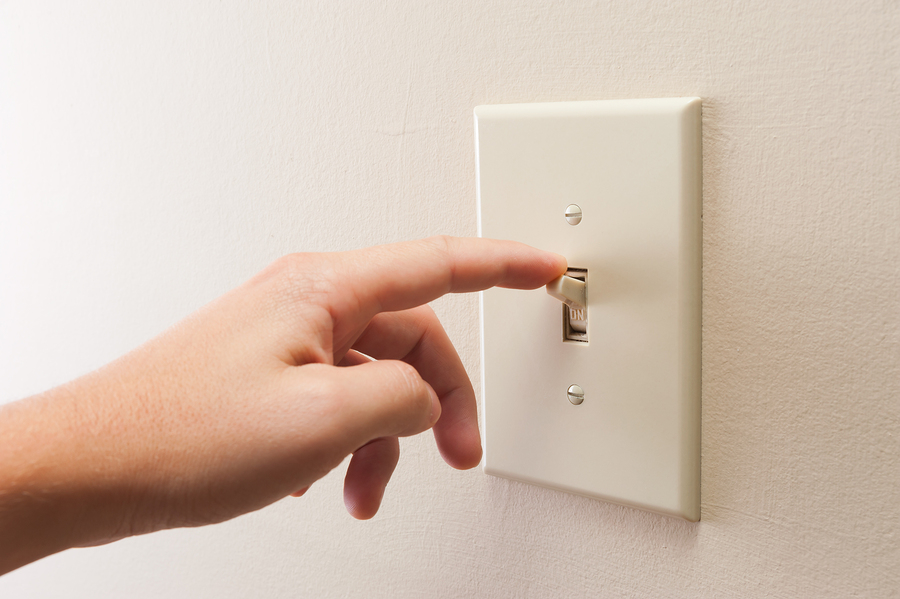
Most professionals agree that changing a light switch is a simple and safe task for any DIY-enthusiast. Easy as it may be, many people do not know how to perform this household improvement.
Even with minor electrical work, it is extremely important to take safety precautions.
- Always make sure that the power is off while doing any electrical work.
- Be sure that the area that you are working around does not have any combustible gases or liquids around it.
- If this task seems difficult or working with electricity makes you nervous, it is advisable to hire an electrician.
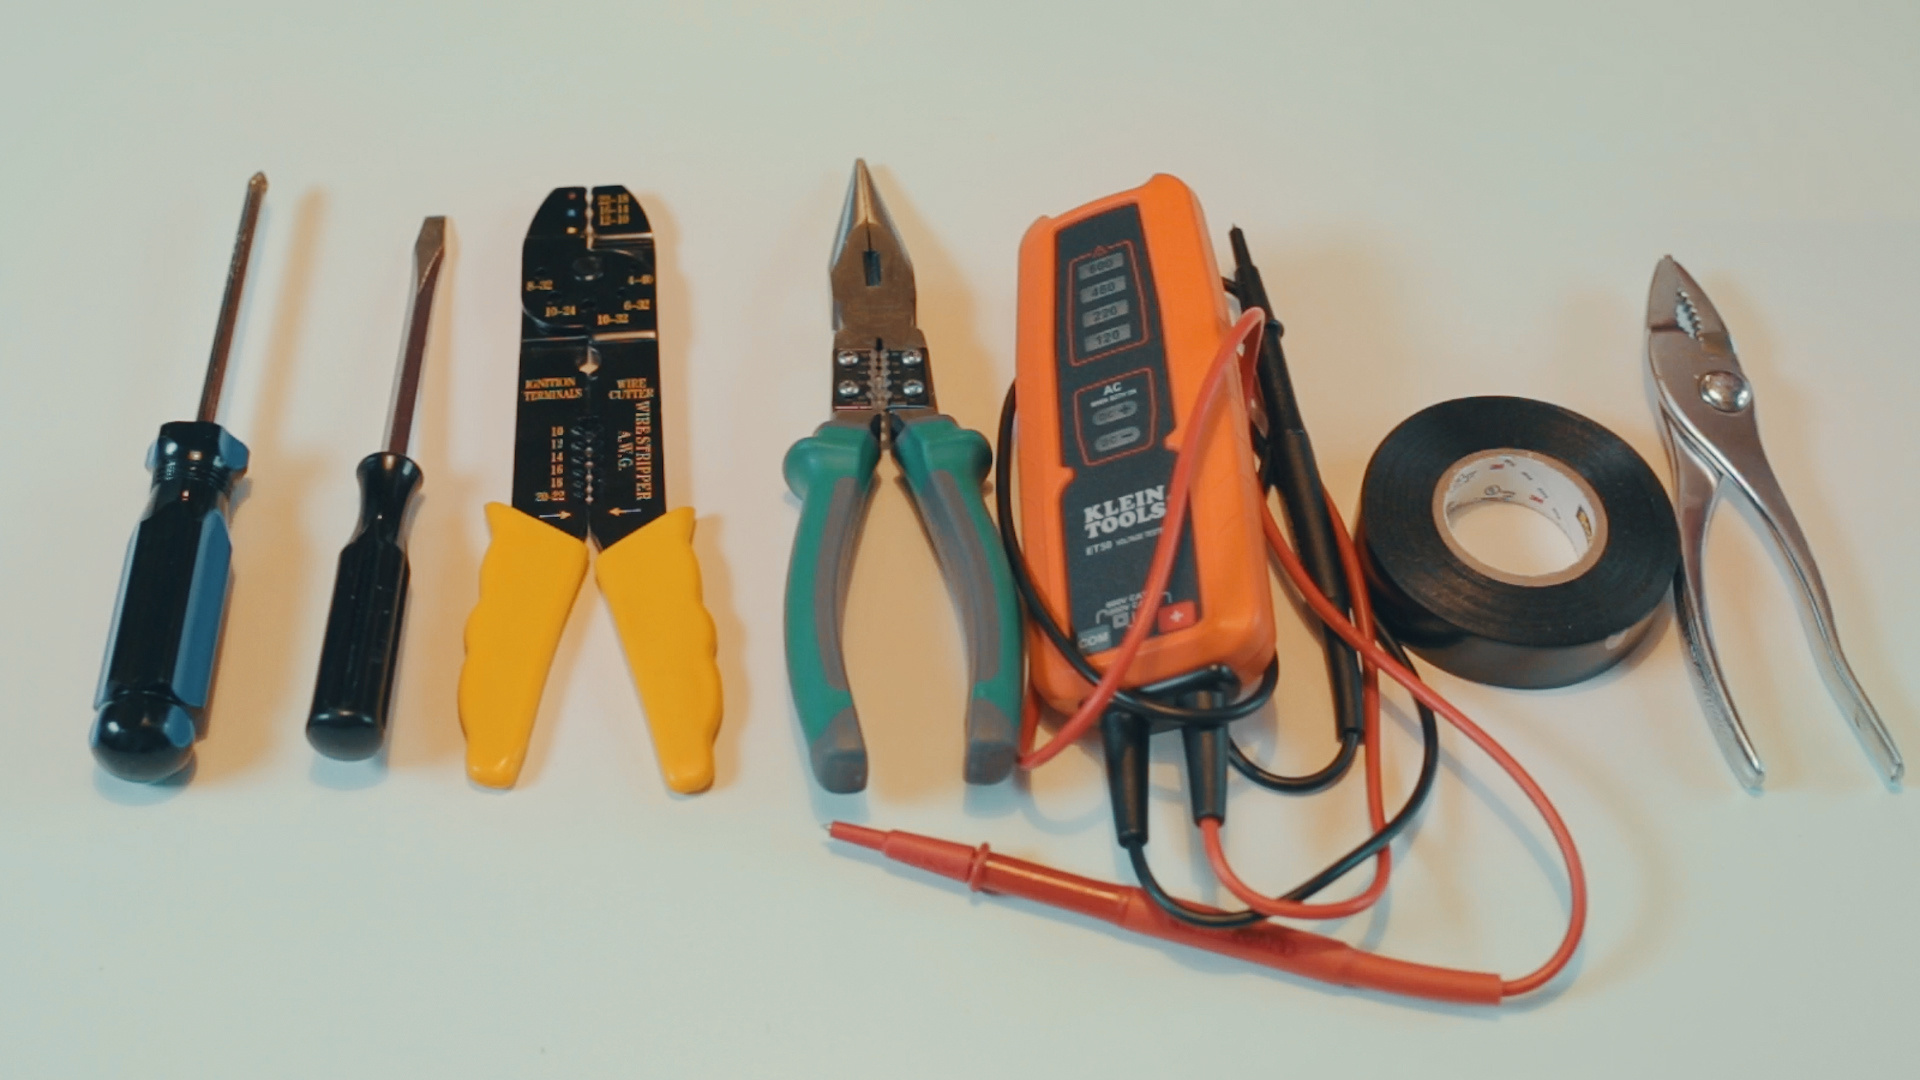
Tool List:
- New Light Switch
- Screwdriver
- Electrical Tape
- Voltage Tester
- Wire Strippers
- Pliers
Step by Step
Step #1 Turn Off the Power
Flip off the breaker to turn off the power to the light switch that you will be replacing.
A good way to ensure that the power is off is to turn your light on using the switch, turn off the breaker, and check if the light is off. If your light is still on, you’ve turned off the wrong breaker. Once you’ve located and turned off the correct breaker, you may test the switch by flipping it on and off and watch to make sure that your light remains off.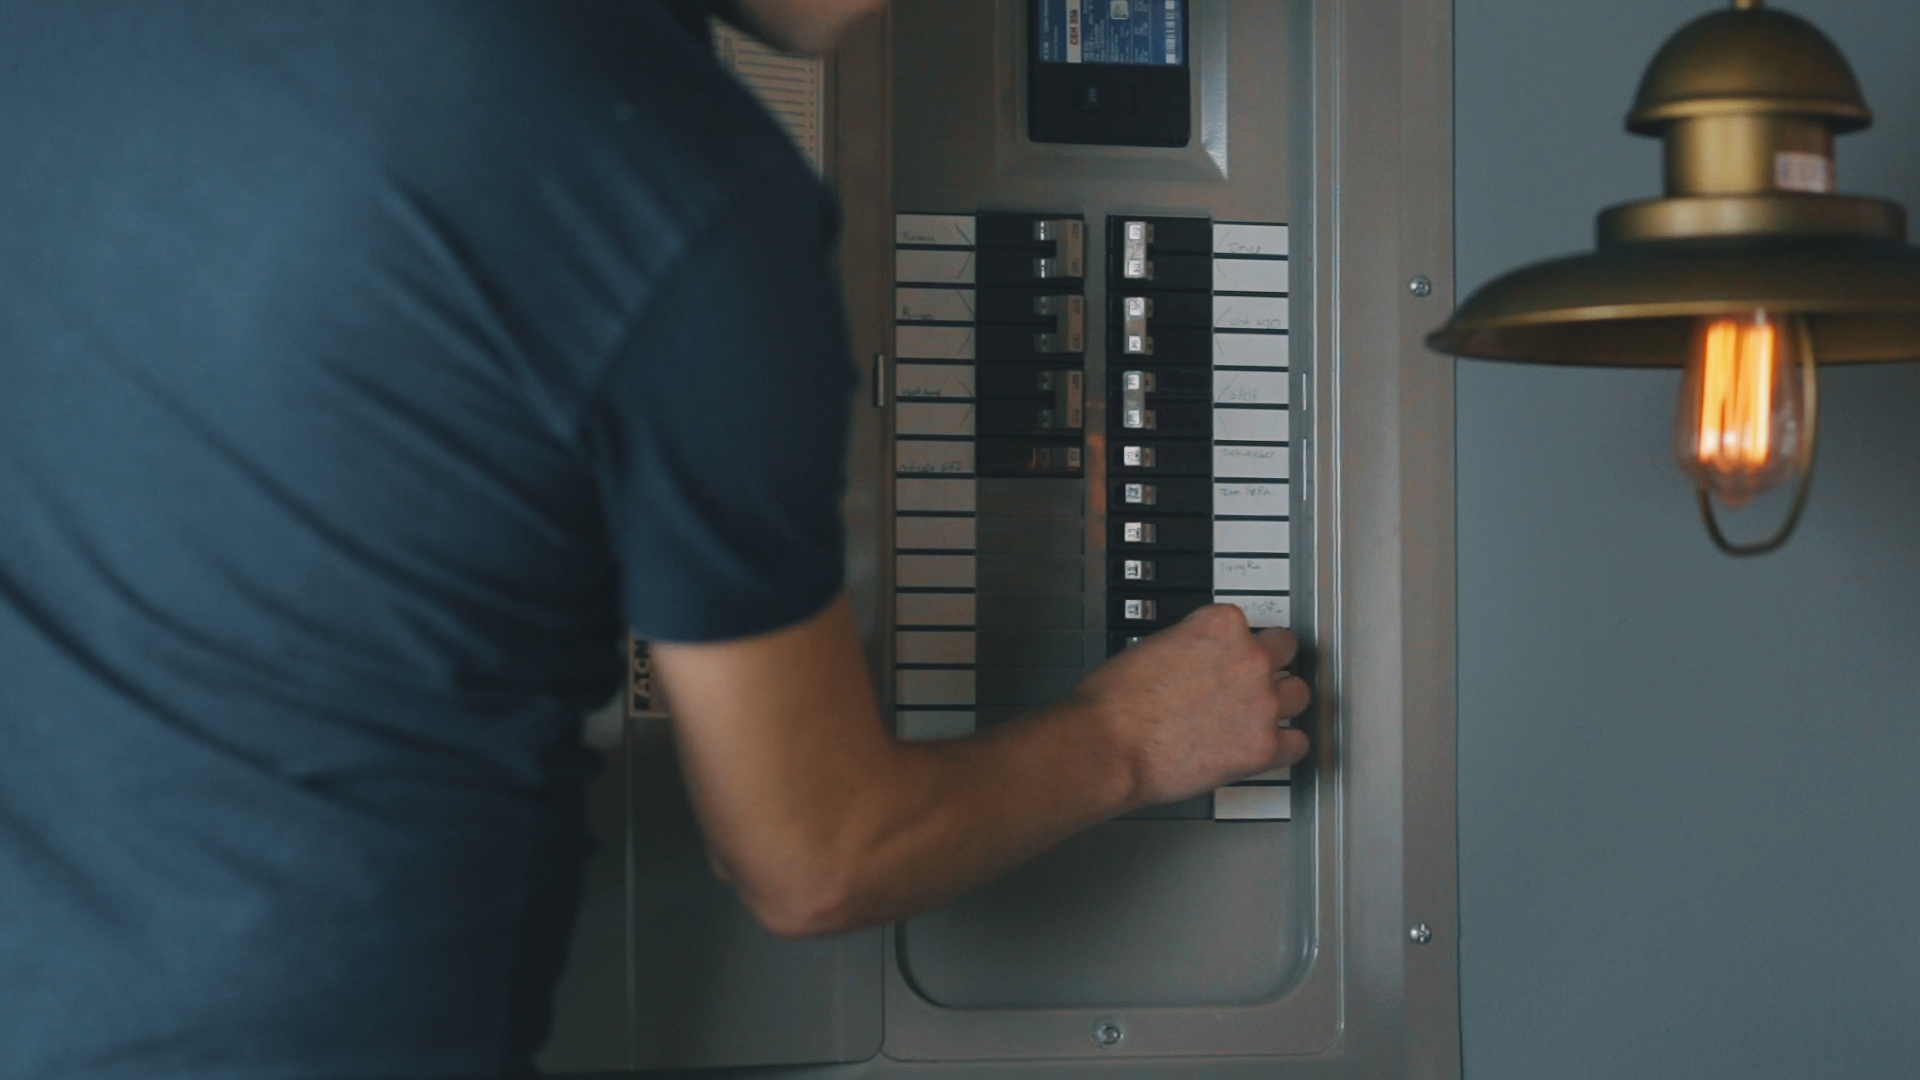
Shop the Look – Farmhouse Style Sconces
Step #2 Remove the Old Switch
Now that your power is off, you are safe to remove your old switch.
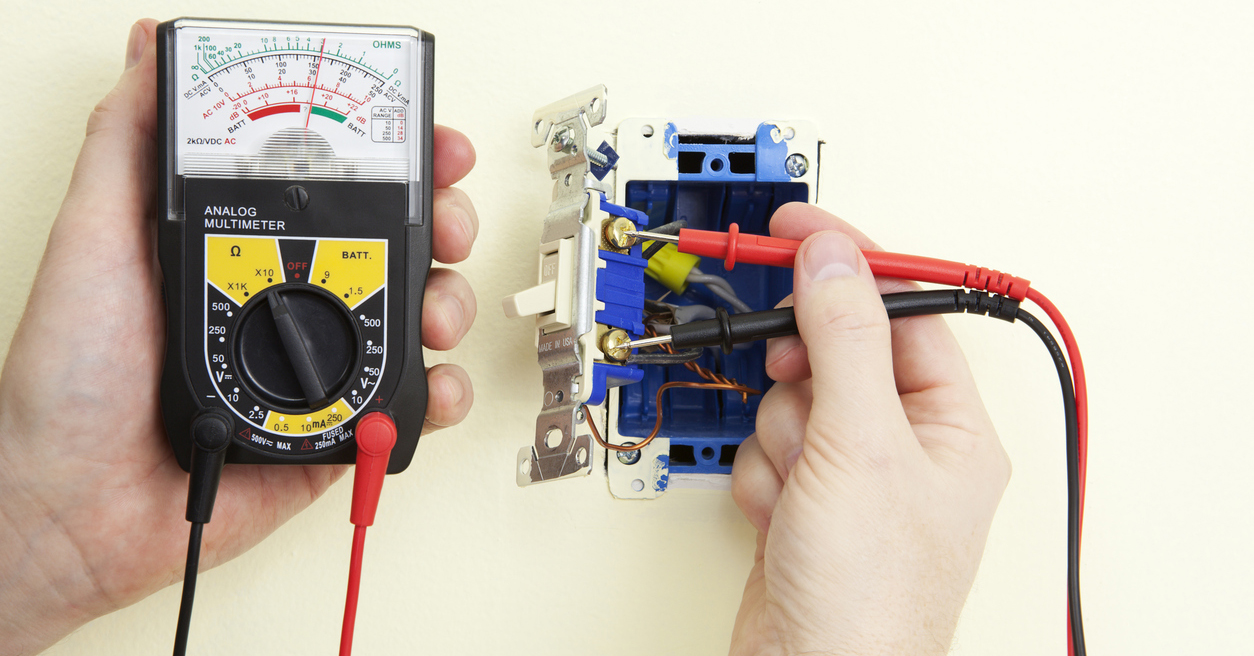
Unscrew both screws from the switch plate and remove the plate. Once the plate is out of the way, remove the two screws that attach the switch to the electrical box. You may want to use your voltage tester at this stage to confirm that there is no electrical current running through the wires.
Step #3 Disconnect To Reconnect
Pull the switch out of the electrical box gently to make the wires accessible. Disconnect the wires from the switch by loosening the screw that holds each wire, or release the quick-connect. For added safety, use pliers to move the wires connected to the electrical box. 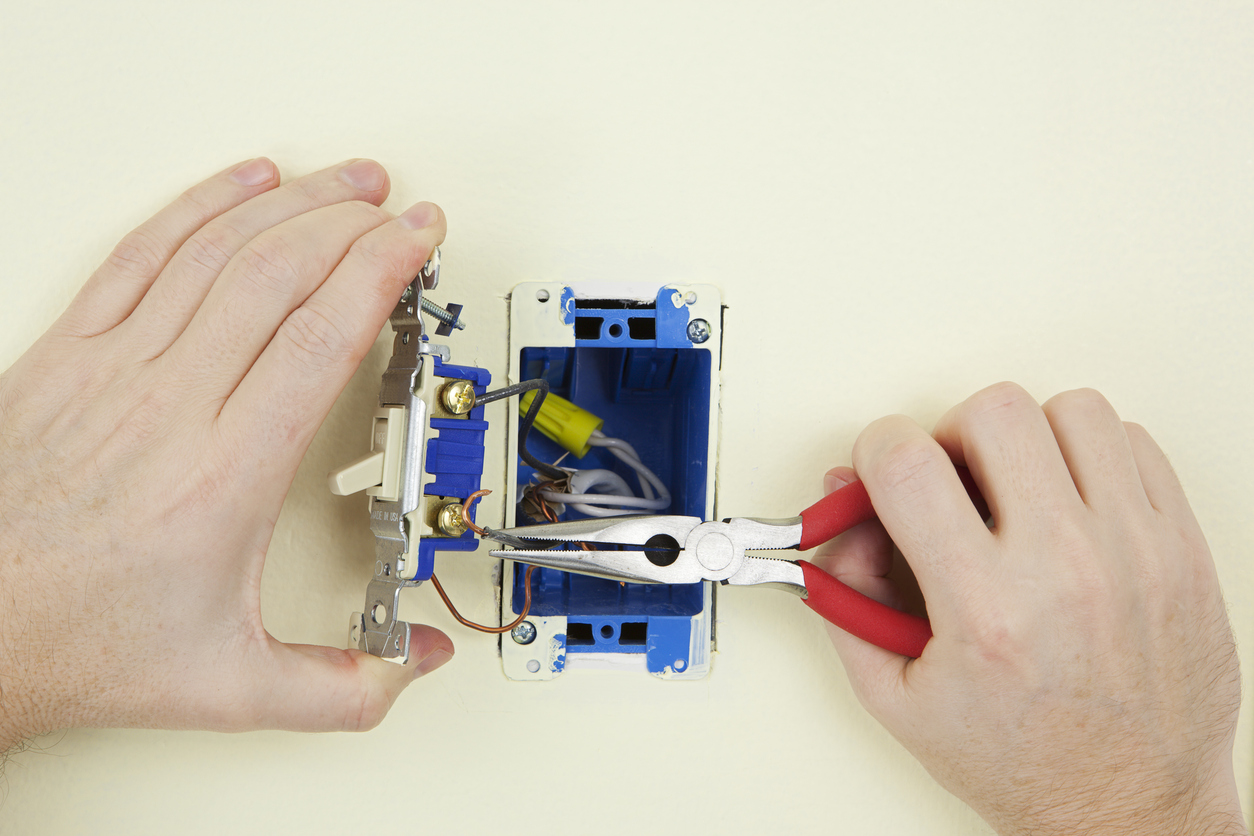
Step #4 Connect the New Switch
The new switch that you want to use should have two connections, usually screws, terminals, or push-in connections. Connect the black wire to the brass terminal, the white wire to the silver terminal, and (if present) the green wire to the green terminal.
Push the switch back into the electrical box and screw it on tightly. Place the switch plate over the box, being careful to align the screw holes, and screw into place. At this point, it is safe to turn the power back on from your breaker box.
And there you have it, a perfectly good new switch! Now wasn’t that easy?
Stay Connected
Love DIY lighting projects? So do we! Comment below to let us know what projects you would like to see on our blog.
Can’t get enough lighting? Follow us on Pinterest and Instagram (@destination_lighting).
Leave A Reply