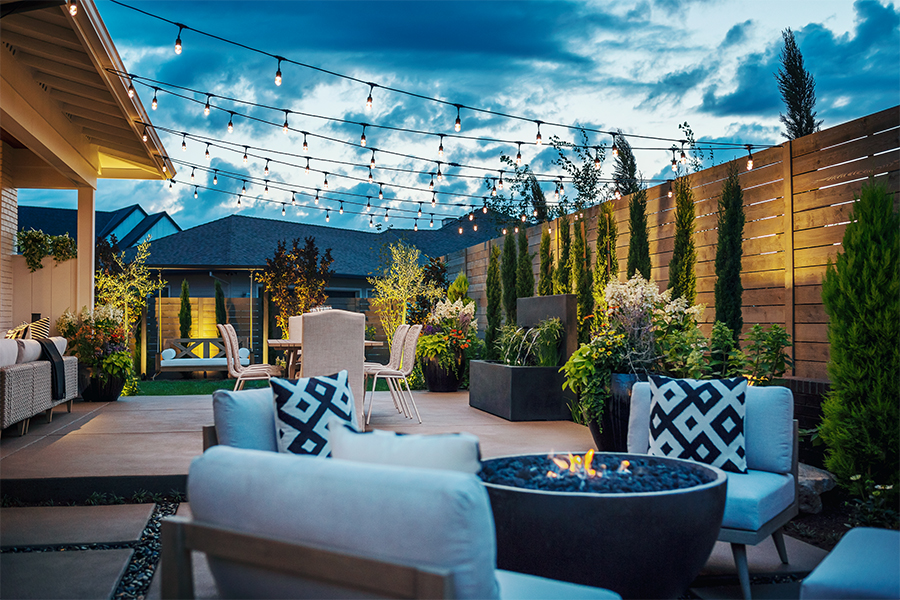
String Lights at Farm to Table by Renaissance Homes
There is nothing easier or more inviting than adding string lights to your outdoor living space. String lights are inexpensive, long-lasting, and can be enjoyed all year round. With a few simple steps and supplies, you can transform your back yard into a beautiful, cozy, nighttime hang-out.
Steps
- Location & Design
- Measure
- Install Hooks
- Attach String Lights
Supplies
- String / fishing line/ etc.
- Painters Tape / Thumbtacks
- Tape Measure
- Eye hooks
- String Lights
- Zip Ties (preferably the same color as your lights)
- Scissors
Step One: Location & Design
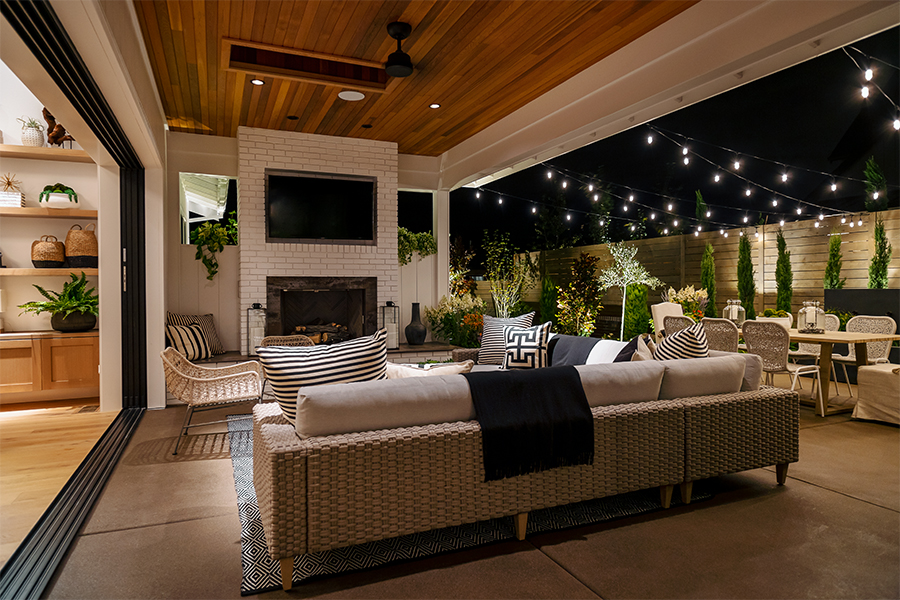
The first order of business is to decide on the pattern that you will be hanging your string lights and what structures you will be attaching them to. Popular patterns are zig-zag, parallel rows, or outlining a structure which can be attached to fences, trees, the side of your home, a backyard pergola, or freestanding posts.
Step Two: Measure
You’ll want to make sure that your string lights are long enough to cover your space in your preferred design. One way to get an accurate measure is to use a string or fishing line to map out the path of your lights, making sure to account for the length it will take to get to an electrical source. Use painters tape to attach your line to any walls or structures to avoid any mess or damage*. Once you’ve mapped out your design, measure along the path of your string and make any adjustments necessary if you are trying to stay within a certain length. After measuring, you may take down the guideline but leave your painters tape attached to walls and structures so you know where to place your eye hooks.
*If you are using a tree as a mounting point use a thumbtack to secure your string.
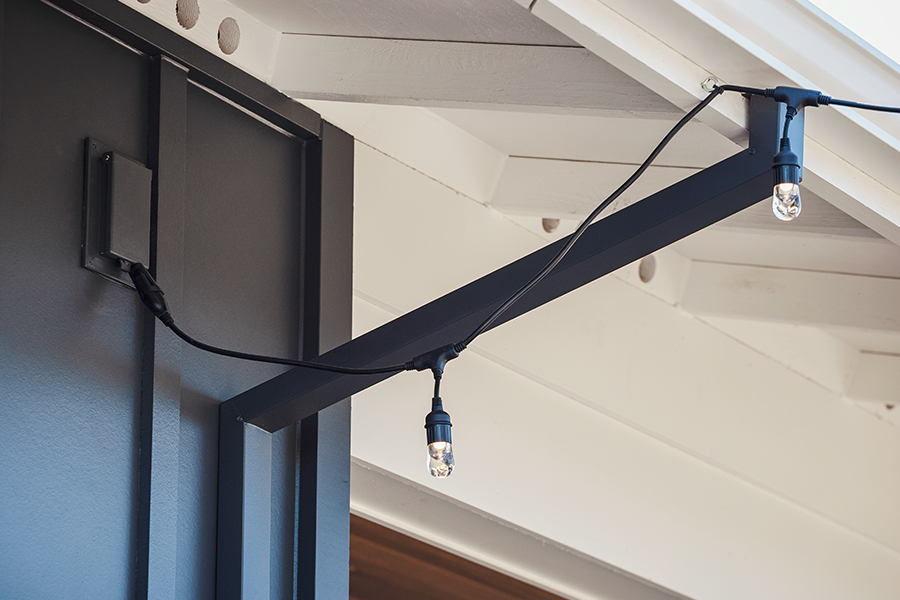
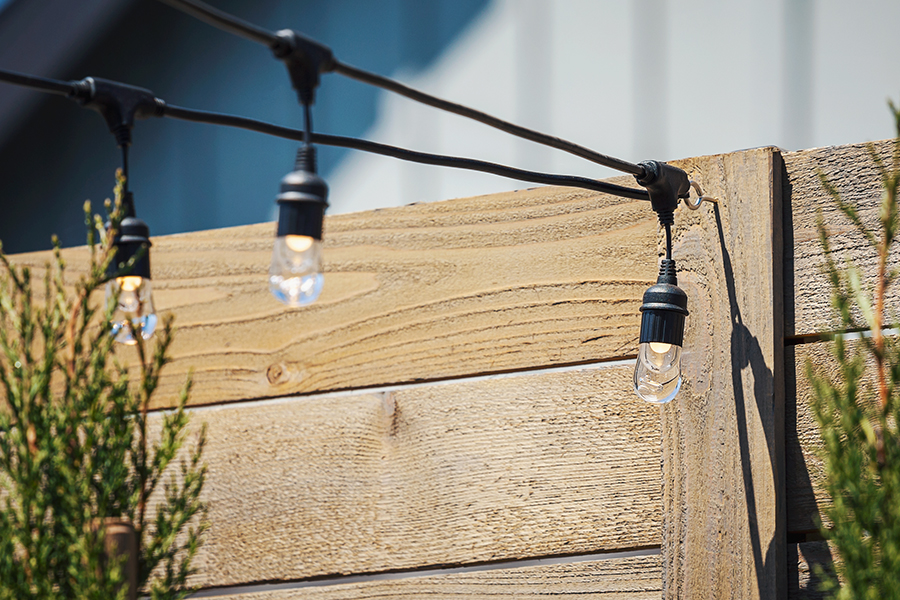
Step Three: Install Hooks
Now that you’ve mapped out and identified your mounting points with painters tape you are ready to place your eye hooks. Eye hooks generally don’t take too much effort to screw into wood surfaces*. Just take your hook firmly between your thumb and pointer finger, press the screw point into your mounting surface, and twist in a clockwise direction until the threaded screw base is fully concealed within the surface. Once you’ve placed all of your hooks, you’re ready to hang your string lights.
*If you have any trouble getting started you may want to make a starter hole with a nail and hammer.
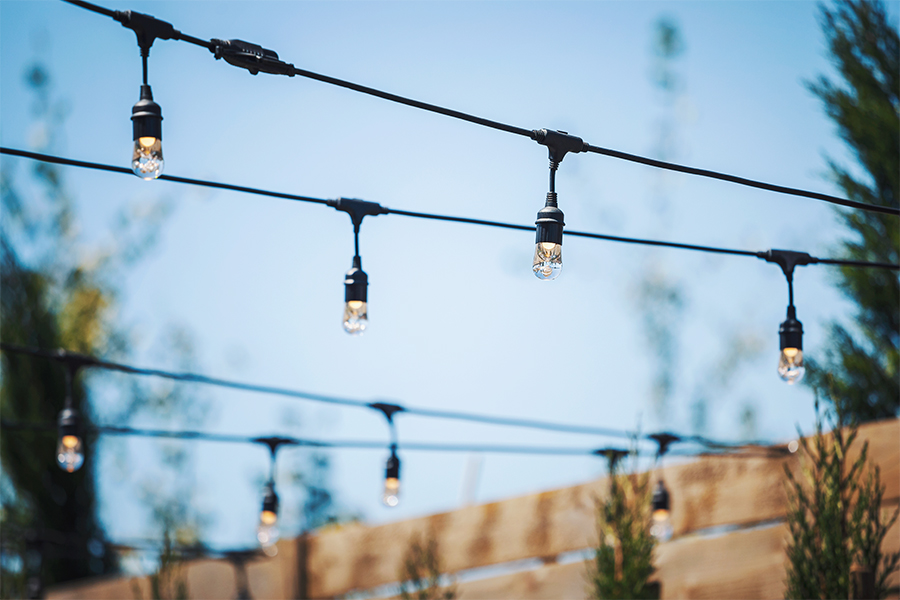
Step Four: Attach Your String Lights
Now that your path is mapped out and your eye hooks are installed, its finally time to hang your lights. Start your installation at the point closest to your electrical source making sure that your string lights are able to reach an outlet or extension cord. Use a zip tie to attach the cable section of your string light to each eye hook. It is wise to keep your zip ties loose until you have attached your full length of lighting so you can adjust along the way. Once everything is attached, start back at the beginning of your line, pull each section taut, fully secure your zip tie, and cut off any excess plastic from the end of the zip tie.
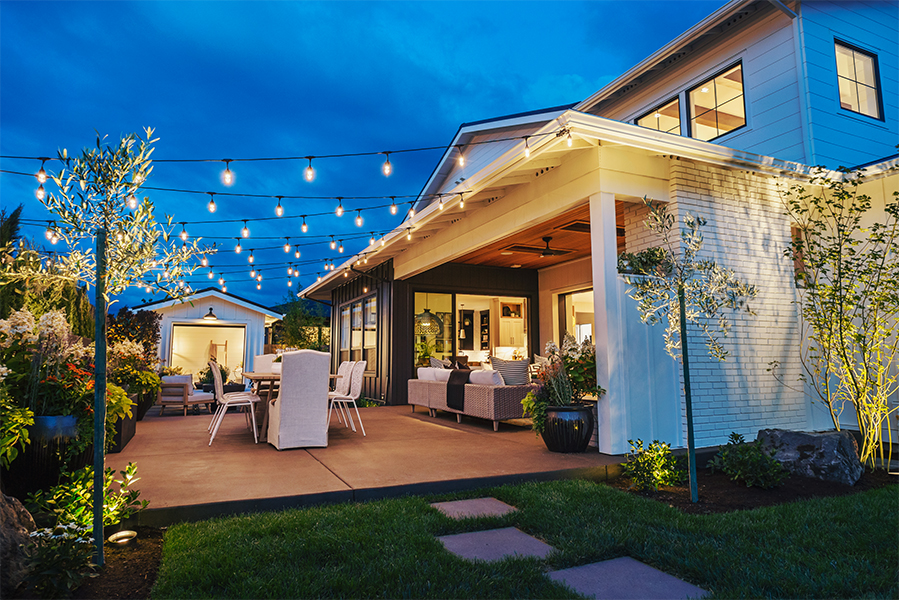
Step Five: Enjoy
Now that you’ve created a beautiful outdoor living space its time to kick back and admire your work. Be sure to share your updated back yard on Instagram with #mydlighting, we’d love to see how it turns out!
Follow Us
For more lighting and design inspiration, follow us on Pinterest, Instagram, and Facebook.
Leave A Reply