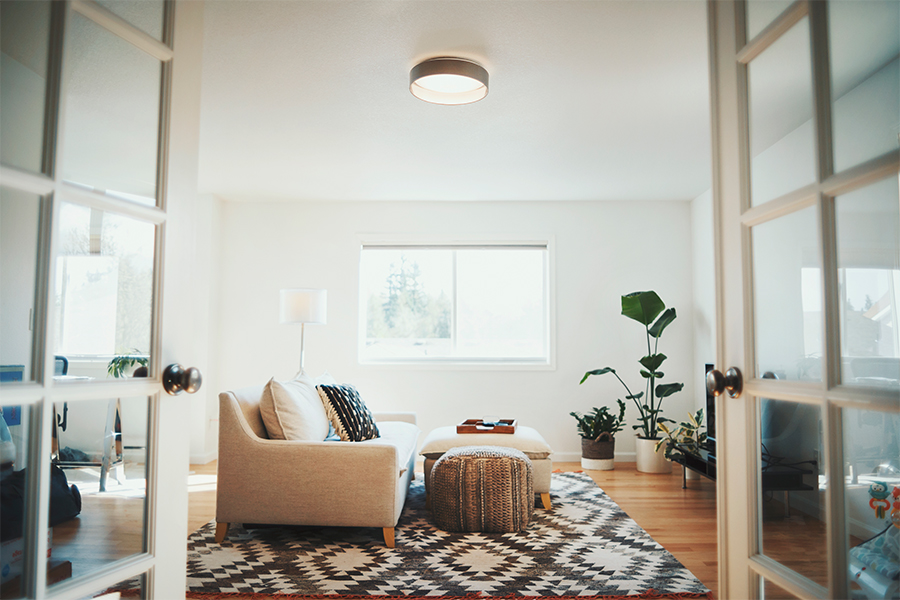
Maserlo LED Ceiling Light by Eglo
Starting a new lighting project?
Some tasks, such as replacing a light switch with a dimmer or replacing old hallway fixtures with wall sconces, are quite simple, making them ideal first projects for a DIY lighting/electrical newbie. More advanced projects, however, will require the help of a professional. With a few simple questions, we will help you identify which new lighting projects you’ll be able to tackle on your own, versus ones where you should call a skilled technician.
Should I Call a Professional?
While using your personal knowledge and skill to improve your home is quite satisfying, sometimes calling a professional is the better choice. Safety is a crucial concern when working with electricity. If you’re tackling a complicated job or are not sure of the correct way to install something, use an electrician to ensure the work is completed safely. These professionals have detailed knowledge of building code requirements, understand the inspection process, and bring years of experience to your project. They also have all the tools needed to handle any wiring task.
Also, you may want to consult a professional before you start your project. For example, an interior designer can help bring your lighting project ideas to life and suggest unique lighting solutions, like using transitional style lighting to add illumination without overwhelming other features of a room. In addition, a general contractor can repair the holes you made when pulling wires, or excavate the trench you need to install wiring for an outdoor post light.
Aside from safety concerns, most lighting manufacturers will void the warranty of a fixture if it has not been installed by an electrician or other certified professional.
Should I Create a Lighting Plan?
A lighting plan is a map of your home that includes information on current lighting, and it shows how you and your family use each room. It’s an excellent way to see where you need to make lighting changes. Creating a plan is simple — all you need is a pencil, graph paper, a ruler and a tape measure. Draw an accurate floor plan of each room in your home that includes fixed features such as doors, windows and fireplaces. Then, add your furniture, being sure to note items such as televisions or computers, since they’re affected by ambient light. You should also mark artwork or architectural features you want to highlight with directional spot lights.
Once your drawing is complete, review each space, and list how you use it throughout the day. Finalize your lighting plan by marking the type and location of each light fixture. Draw a circle around each light showing the area it illuminates. Once you understand your home’s current setup, it’s easier to create lighting project designs that address your needs.
Matta Pendant by Design Classics
How Much Experience do I Need?
The skills required to complete lighting projects vary. Installing LED light bulbs in your existing fixtures is one of the simplest lighting changes you can make to your home, and it offers a considerable payoff in the form of energy savings. Slightly more complex projects, such as replacing a switch or light fixture, require just a few tools, an understanding of basic wiring, and a little muscle. They’re ideal projects for novice DIYers. Installing recessed ceiling fixtures in a new location, or adding a lighting control system to your home, are more complex jobs. You may have to cut drywall, drill holes through studs and pull wire through tight spaces.
How Long Will the Project Take?
Turning off the power disrupts household activities. Preparation and planning will help you understand how long a task will take. It also reduces the time needed to implement your lighting project ideas. Start by writing down exactly what you’re going to do and applying for any permits the work may require. You should also create a list of materials you’ll need, which will help you understand the costs involved.
Before you start the actual work, assemble your tools and supplies in a convenient location and perform a safety check. Review each step of the project and any assembly or installation instructions that came with your new light fixtures. Having an assistant on hand can speed up the task if you’re working in a cramped location or installing overhead fixtures such as bowl pendant lights, which require using a ladder. Don’t forget to allow time for cleanup after you’ve completed the job.
Am I in for any Shocking Surprises?
Installing a new light is a simple job that involves very little risk, provided you follow safety guidelines and understand electricity basics.
- Always turn the power OFF to all affected electrical circuits at the main breaker panel before you start the project.
- Use a voltage tester, ensure the power is OFF.
- Never work with electricity if you have water on your hands or are in wet conditions. Water increases conductivity and the risk of a shock.
- If you require a ladder, use one made of wood or fiberglass, not conductive aluminum or steel.
- Be aware of obstacles, such as plumbing pipes, gas lines or air vents in your work area, and avoid drilling or cutting near these potential hazards.
- Wear safety glasses to protect your eyes from construction debris.
Pro Tip: Leave a note on the breaker box to ensure no one turns a circuit back on while you work.
Understanding Your Home’s Electrical System
Before you start working on your lighting project, you should understand how power flows through your house. Electricity enters your home at the meter, which measures how much energy you use. It then travels to the main breaker panel, where the high-amperage power provided by your electric company splits into multiple lower-amperage circuits. You can typically find the panel in a garage, basement or utility room.
Breakers — or in older homes, fuses — protect the main power line and each household circuit from electrical faults. These devices automatically shut off a circuit when they detect an overload. You can also turn off breaker switches or remove fuses to cut power to specific parts of your home. Each switch or fuse has a label that indicates the circuit’s load rating.
- 15-amp circuits are typically used for lighting or outlets in bedrooms or living rooms.
- 20-amp circuits power high-demand locations like kitchen counter outlets.
- 30-amp circuits deliver electricity to heavy-duty appliances, such as air conditioners or dryers.
Pro Tip: Keep a handheld light or headlamp near your main breaker box. Trying to find a tripped breaker in the dark is no fun.
Wiring Basics
When electricity leaves the main breaker panel, it travels along a cable that contains three wires that are typically black or red; white; and green or bare copper. The black or red “hot” wire carries power from the panel to individual fixtures and outlets. The white “neutral” wire provides the return connection. Plugging something into an outlet completes the electrical circuit and allows the electricity to flow.
The green or bare copper ground wire literally connects to the ground. If there’s a short or fault in a circuit, it provides an electrical shortcut that will trigger the circuit’s breaker or fuse in the main panel. A ground connection is a critical safety feature, and ground wires should be connected to every part of an electrical circuit. Ground fault circuit interrupt (GFCI) outlets and breakers add another layer of electrical protection. They detect grounded circuits in milliseconds and cut power. Building code often requires GFCI protection in wet locations such as bathrooms, garages, porches and kitchens.
Timarron Pendant by Craftmade | Inman Chandelier by Savoy House
What Voltage will I be Working With?
In the United States, 120-volt power is the standard for most household applications. The main exception is dedicated circuits for high-demand appliances such as stoves, dryers or air conditioners, which often use 240-volt power. Low voltage lighting systems, commonly used for under-cabinet or deck lights, have a transformer that converts 120-volt household power to 12-volt current. Using low-voltage lights can simplify your project because the power cables can often be surface-mounted. The lower voltage also reduces the risk of shocks.
Do I Have the Tools and Supplies I Need for the Project?
Almost every DIY job requires tools and supplies, and your lighting project is no exception. You’ll probably need some or all of the following items to implement your lighting project ideas:
- Voltage testers let you detect and measure the current flowing through wires or outlets.
- Flat and Phillips screwdrivers remove screws from cover plates, and they loosen or tighten wire terminals on switches or outlets.
- Wire cutters and strippers trim wires and remove insulation, so you can make neat and tight connections.
- A non-conducting, wood or fiberglass ladder provides safe and sure footing when working on overhead fixtures.
- Lineman’s pliers combine gripping and cutting power. You can also use them to twist together heavy wire.
- Wire nuts and electrical tape are used to create tight connections.
- A flashlight or headlamp lets you see what you’re doing when the power is out.
- Fish tape pulls wire through conduit or walls.
- A drill with assorted bits creates pilot holes for mounting hardware, or drills openings in walls for studs or cables.
Pro Tip: Tools with insulated grips provide an extra layer of protection from shocks.
Am I Ready for This?
Working with electricity can be intimidating, but with a basic understanding of wiring, the right tools, and proper safety precautions, almost anyone can implement their lighting project ideas.
Now that you’ve reviewed the questions to ask yourself before a lighting project, you should have a better understanding of the planning you’ll need to do before you start, and the skills and tools needed to finish the job. Start small, follow safety guidelines, and enjoy the satisfying feeling that comes from bringing your ideas to life using your hands, knowledge and skills.
Once you’ve taken on a few basic projects and expanded your wiring skills, you’ll be ready to handle more complex jobs — such as installing round recessed lights in your living room ceiling — with confidence.
Gem LED Surface Mount Light by Design Classics – Square and Round
Follow Us
For more lighting and design inspiration, follow us on Pinterest, Instagram, and Facebook.
Leave A Reply