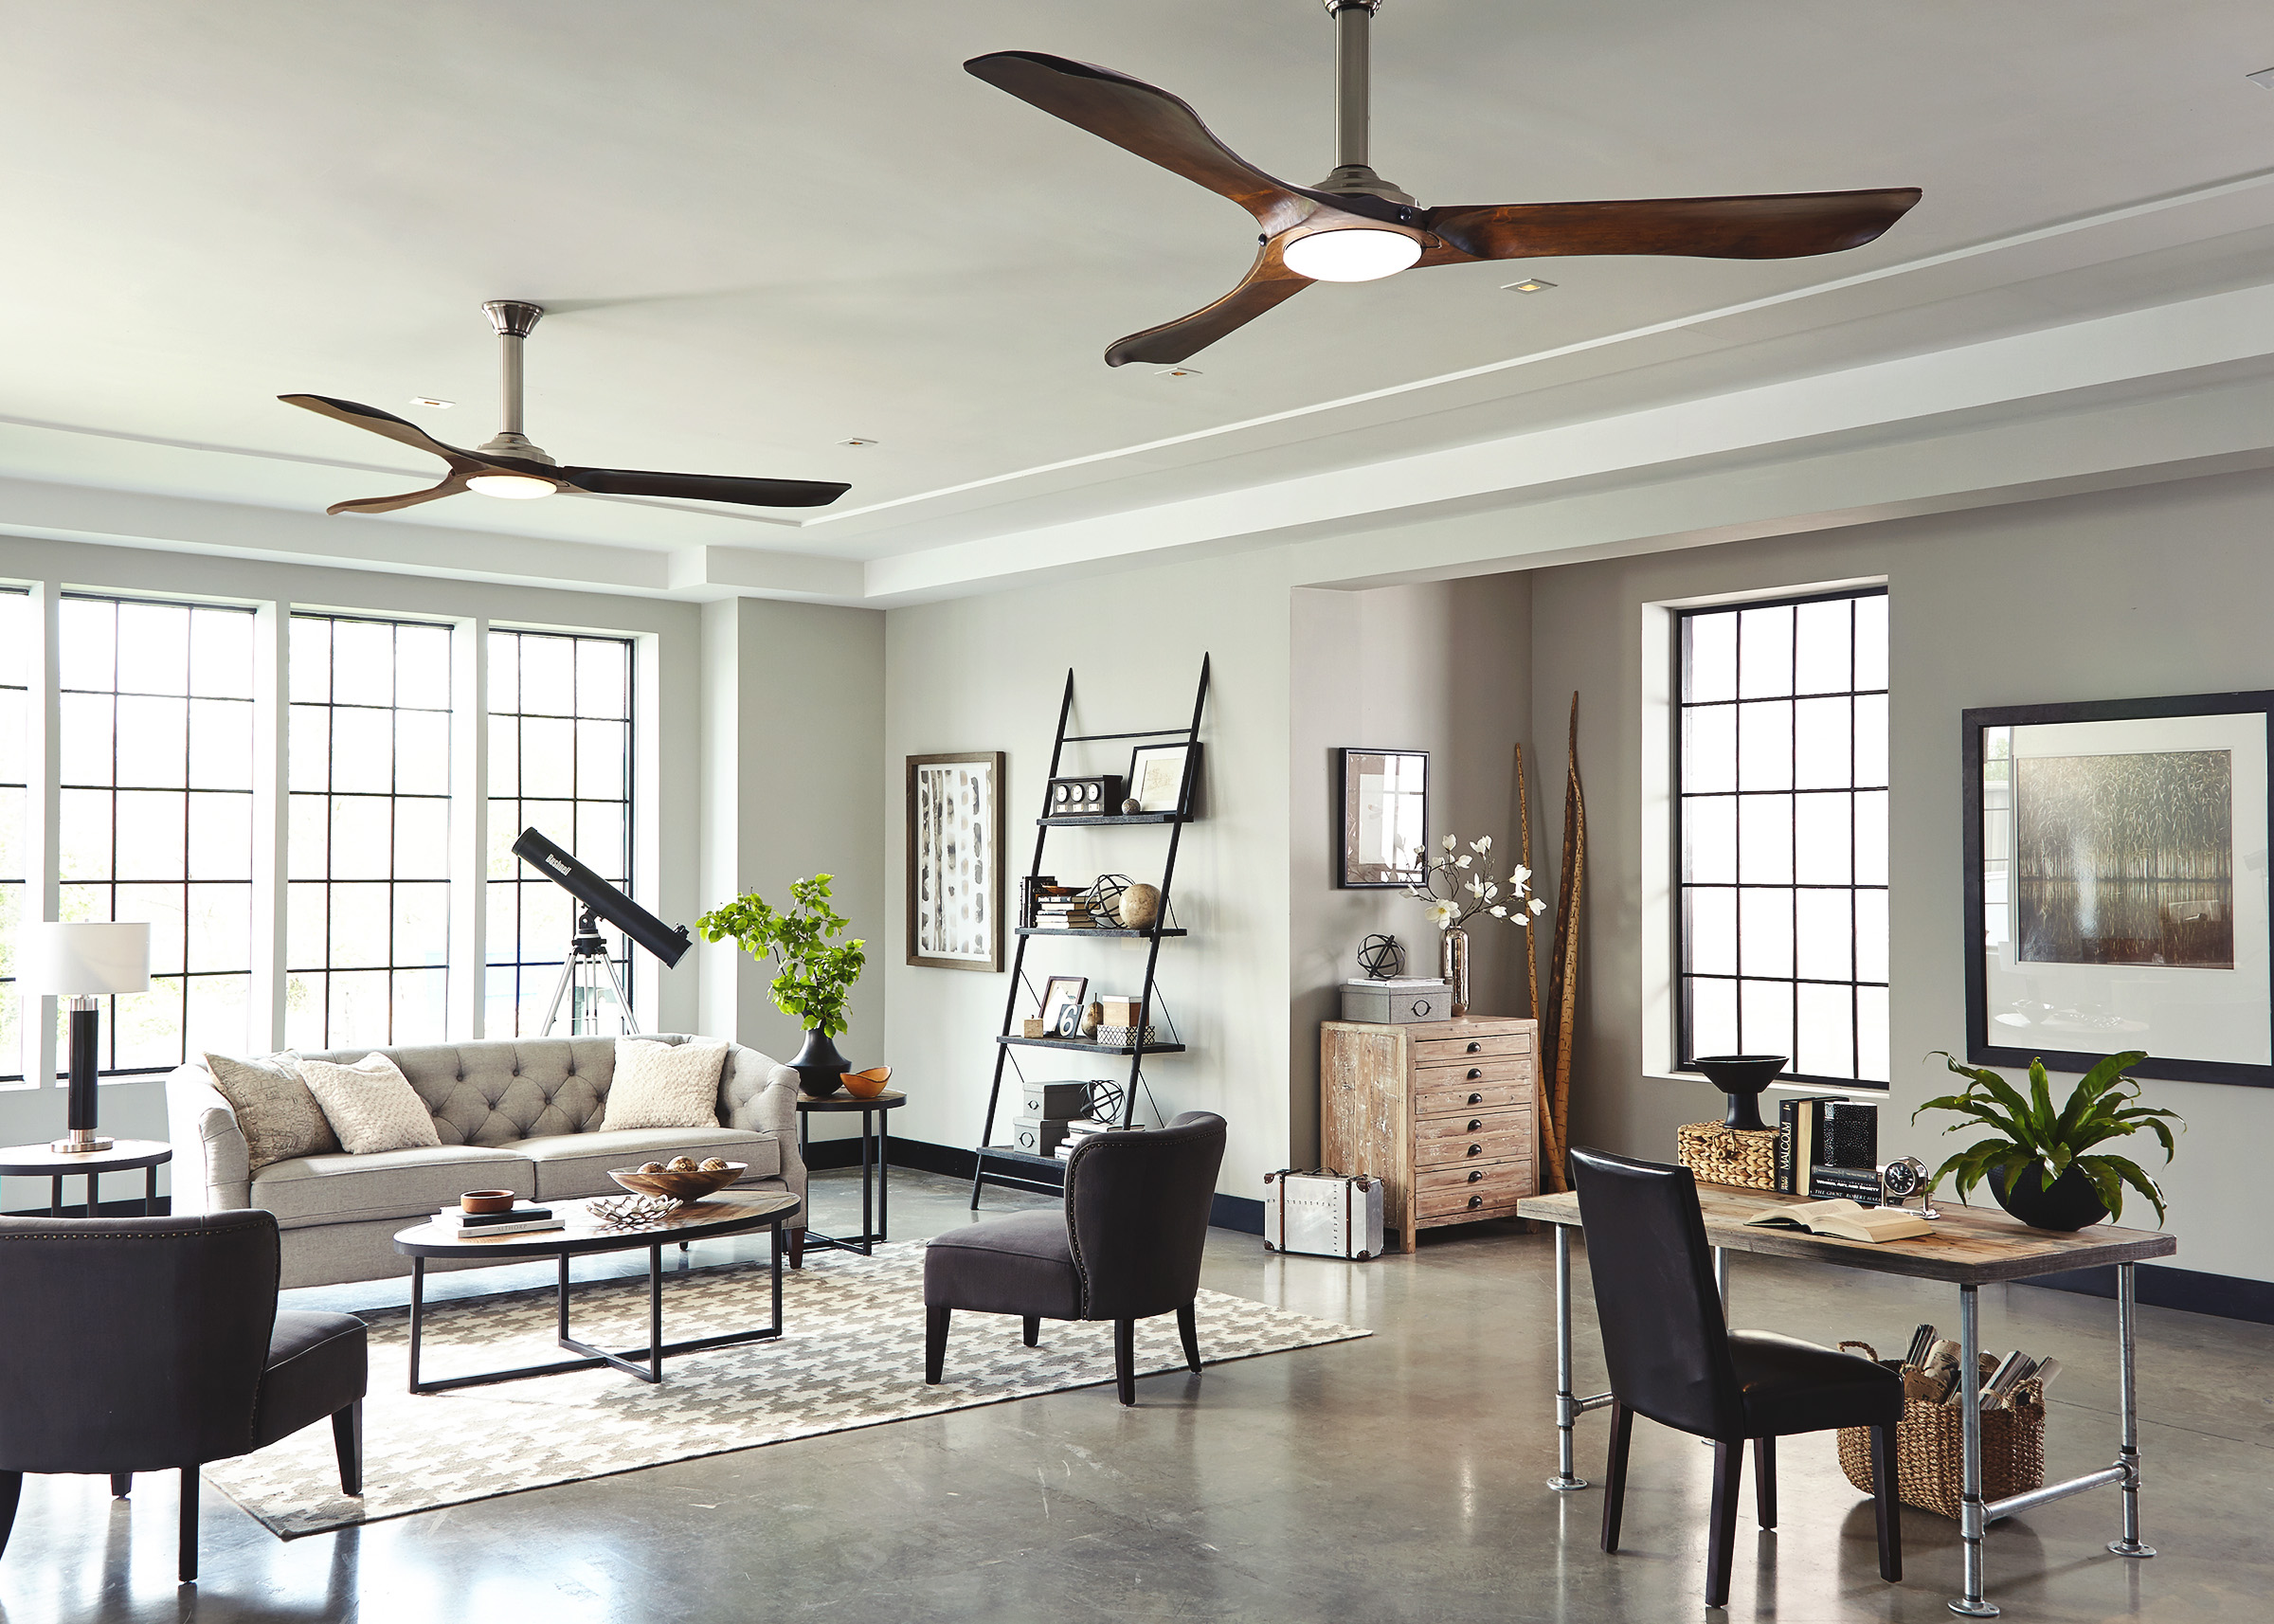
That cool summer breeze passing by as you take an afternoon nap on your sofa should be enough convincing for you to get a ceiling fan. A cooler, brighter home, with reduced energy costs is something I think we can all get behind. Used in conjunction with an air conditioner, having a circulating fan helps to spread the cool air around, making it even more effective. Installing a new ceiling fan into an existing light fixture is a fairly easy DIY project that typically takes less than half a day to complete.
Before you install…
Check your local building codes to find out if you’ll need a permit or an electrical inspection before beginning the project. Once you have the OK to proceed, locate an overhead light fixture in the room where you’d like to install the fan. If there isn’t an existing fixture, we suggest to call a licensed electrician and have one installed, as the job will require extensive electrical knowledge.
The ingredients you’ll need
Once you’ve made all the necessary measurements and chosen a fan, it’s time to begin the installation. Review the instructions that came with your fan to be sure you have all the parts and tools you’ll need. Tools for the job typically include:
- Ladder
- Voltage tester
- Flashlight
- Screwdriver
- Adjustable wrench
- Wire strippers/cutters
- Wire nuts
How to know the right size of fan for the room
To determine what size of fan will be the most efficient for your space, measure the square footage of your room. For rooms measuring up to 75 square feet, you’ll want to install a fan that’s 36 inches in diameter or smaller. Between 75 and 144 square feet, choose a fan in the 36 to 42 inch range. For spaces measuring 144 to 224 square feet, look for fans in the 50 to 54 inch range. Larger rooms may need fans with as much as a 72 inch blade span.
Next, measure the area directly around the fixture. There should be at least 30 inches of clearance between the tips of the fan blades and the walls. So, if you are installing a 36-inch diameter ceiling fan, the center of the unit should be a minimum of 66 inches from the nearest wall. Measure the height, as well. The bottom of the fan should hang at least 7 feet from the floor. Check your fan’s instruction manual to see if there are any additional details about ceiling height or blade clearance.
Safety first
You don’t want any “shocking” surprises when working with electrical wiring, so the first step is to turn off the power at the breaker box. Locate the switch that controls power to the room you’re working in and flip it to the off position. It’s wise to notify the rest of the household that you are doing this, as well as post a warning on the door of the breaker box.
Turning off the lights
- Find the light switch that controls the fixture you’ll be working on and turn it to the OFF position.
- Detach the light shade. This is usually accomplished by loosening three or four screws. Unscrew the light bulb and use your voltage meter to be sure there are no live wires.
- Disconnect the fixture wires, remove the mounting nut with your wrench and remove any screws that may be holding the old fixture in place.
- Examine your existing wiring. There should be a bare copper ground wire, a white neutral wire and a black supply wire. If your wiring looks different, stop and consult an electrician.
Prep the Junction Box
- Once the light fixture is out of the way, remove the existing junction box. If it is rated for ceiling fans, there will be a marking indicating that on the interior. If not, you will need a new box. Junction boxes rated for fans are typically made of metal and can hold up to 70 pounds.
- Using a flashlight, examine the interior of the hole where the box was mounted to determine if you need to install support. If this fixture previously held a ceiling fan, you may be good to go. Generally, though, you’ll need to add bracing.
Bracing your fixture for support
Ceiling fans can be quite heavy, with some weighing up to 50 pounds, and they need solid internal support. This support is usually achieved with an extendable metal fan brace. Many fan kits include this brace. If yours doesn’t, purchase a brace that is rated for the weight of your fan. You’ll also need a U-bolt bracket that fits over the center of the brace, and the appropriate mounting bolts for attaching the junction box.
Extendable braces consist of a square metal tube with a rotating internal mechanism that extends two spiked feet.
- Insert the brace vertically up through the hole.
- Turn it horizontally inside the hole and lay it flush with the ceiling, with the ends pointed to the two ceiling joists. Make sure it’s centered over the hole.
- Rotate the square bar with your fingers until you feel the spiked feet anchor securely into the wooden joists.
- Slip the U-bolt bracket over the brace so it hangs centrally over the hole and carefully feed the mounting bolts into their slots.
- Slide all of the wiring into the opening in the rear of the junction box, and attach the box to the U-bolt bracket, leaving the nuts loose for the moment.
Install the Fan
You’re almost there! Ceiling fan kits usually come with a fan mounting bracket. This bracket has a circular divot which holds the ball mount at the end of the fan’s downrod. The mounting bracket will attach to the junction box either by clipping into or sliding over the box’s mounting bolts. Check the instructions to see how your bracket should be attached.
- Feed the wiring through the center of the bracket, then secure the bracket to the bolts as indicated by the instructions.
- Working on the floor or a table, feed the fan wires through the downrod.
- Secure the downrod to the fan motor and slide the canopy over the rod so that the open end faces upward.
- To attach the fan to the ceiling, line up the fan’s ball mount and insert it into the divot in the mounting bracket. It may be helpful to have an extra set of hands to help support the fan for this step.
Making the wires connect
- Measure how much length you’ll need by holding each fan wire up next to its partner in the ceiling, leaving some slack.
- Snip off any excess from the fan end with your wire cutters to minimize the bulk you’ll need to tuck inside the mounting bracket.
- Make clean connections by stripping about half an inch of the insulating vinyl from the ends of the wires you’ll be connecting.
Get Grounded
You should have a bare copper wire coming from the ceiling. This is your ground wire.The ground wire neutralizes current, preventing overloads and short circuits by tripping the breaker. You will also have a ground on the fan side. This may be a green wire coming from the fan motor or located on the mounting bracket. Alternatively, it might be a green screw inside the mounting bracket. If there’s a green wire, connect it to the house’s copper ground wire with a wire nut. If there’s only a green screw, wrap the end of the copper ground wire securely around the screw’s shaft, then tighten down the screw.
Knowing your wires
The next step depends on the type of ceiling fan you’re installing.
- For a standard ceiling fan without a light
- Simply connect the two black (supply) wires with a wire nut.
- Attach the fan’s white (neutral) wire to the house’s white wire, using a wire nut. This completes the electrical circuit.
- For a ceiling fan with a light
- Combine the light’s blue wire with the two black wires using a wire nut, so that all three wires connect. If your fan and light will use a remote control, your kit will come with a receiver.
- Attach the house wires to the receiver’s power-in side, then connect the receiver’s control side wires to the matching fan wires.
- When you’ve finished connecting all the wires, tuck them into the mounting bracket or junction box, keeping the ground and white wires to one side and the black wires on the other side.
Putting in the finishing touches
- Slide the fan’s canopy over the mounting bracket and attach it securely with the included screws. It should fit flush against the ceiling and hide your wiring.
- Connect a blade mounting bracket to each fan blade, then insert the brackets into the rotating bezel below the motor. Loose blades may cause the fan to wobble, so be sure each one is firmly attached.
- If your ceiling fan has a light, follow the manual’s instructions to assemble the fixture.
- Attach the fixture to the fan motor and connect the wiring.
- Screw in the bulb, then finish by installing the glass light shade.
Controlling your new ceiling fan
Examine your fan controls. A standard fan with pull cord controls can be operated by the existing light switch, with no further steps needed. However, many fans are controlled by a rheostat-style switch that controls both ON/OFF and fan speed. To replace the existing light switch with one included in your kit, remove the wall plate and unscrew the switch housing. At this point, you may wish to take a picture of the wiring connections for reference. Detach the wiring from the old switch and attach it to the ceiling fan’s control switch according to the manufacturer’s instructions. Replace the plate, turn the power back on, and test the fan and light operation.
Installing an energy efficient ceiling fan adds both comfort and value to your home. Your fan will provide refreshing breezes, circulate warm air and save you on energy costs. This simple DIY job can be accomplished in a fairly short time, doesn’t require any specialty tools, and takes only a moderate skill level. Take your time, perform each step carefully and enjoy the satisfaction of doing it yourself.
Troubleshooting
- If you experience a breaker overload during testing, call a licensed electrician for help.
- If the light switch does not power the fan, there’s most likely a loose wire. Turn the power back off and double check each of your connections.
- If the fan wobbles during operation, check and tighten screws at each join, from the blade brackets to the mounting bracket.
- To circulate warm air during winter, reverse the direction of the fan. Warm air rises, and turning on your circular fan in winter forces the heat back down. Some models have a reversing switch on the fan housing. Others require you to manually reverse the direction of the blades by flipping them. Check your model’s manual for details.
*Legal Notice: Destination Lighting content is for information only. It is strongly recommended that you consult a professional before attempting any lighting or wiring projects. The company is not liable for misuse of its content.