The how to guide for installing a dimmer switch
When it comes to lighting with a dual purpose, dimmer switches can be a wonderfully useful tool if you do it right. Installing a dimmer switch in your home can help you save energy and change the mood depending on the ambiance you want to create. Dimmer switches are becoming more and more popular, as homeowners love the ability to adjust their lighting situation.
If you’re thinking of installing a dimmer switch yourself, here are is a handy guide to show you the step by step process.
The ingredients
Hardware
- Philips head screwdriver
- Slotted screwdriver
- Wire strippers
- Long-nose pliers
- Wire cutter
- Voltage tester
- Electrical tape
- Wire connector nuts
- Switch plate cover or wall plate
- Dimmer switch
Some precautions to take before you start
- Be sure to turn power to the outlet off by switching the circuit breaker box or fuse that controls that particular area of the house to the OFF setting. This eliminates the possibility of serious injury or electrocution.
- Turn your light switch to the OFF position and test it using a voltage tester, which can identify stray voltage and indicate that one or more power sources are not properly shut off.
Pro Tip: Dimmer switches are not compatible with all fluorescent lights. Due to fluctuations in voltage, you’ll need to ensure your compact fluorescent lights (CFLs) must be marked “dimmable” for safe use with a dimmer switch. Using non-dimmable CFLS with your dimmer switch can present a high risk of overheating and a possibility of electrical fire, so if you’re not sure whether or not your CFL bulb is dimmer-friendly, it’s best to replace them with incandescent bulbs or CFLs marked “dimmable.”
Avoid using a standard dimmer switch with any ceiling fans because the irregularities in energy currents can easily ruin the fan’s motor.
How to choose which dimmer switch to use
It’s important to select a dimmer with the proper load type to suit the voltage of your lighting source. The voltage of your lighting source is determined by bulb wattage, which can typically be found by unscrewing the bulb and reading its base or looking for markings inside the fixture port.
- Size: Dimmer switch plate sizes are the same as standard flip switches, measuring 5 by 3.5 inches for a single toggle switch, 5 by 4.625 inches for a double toggle, and similar aspect ratios for the triple and multi-switch options.
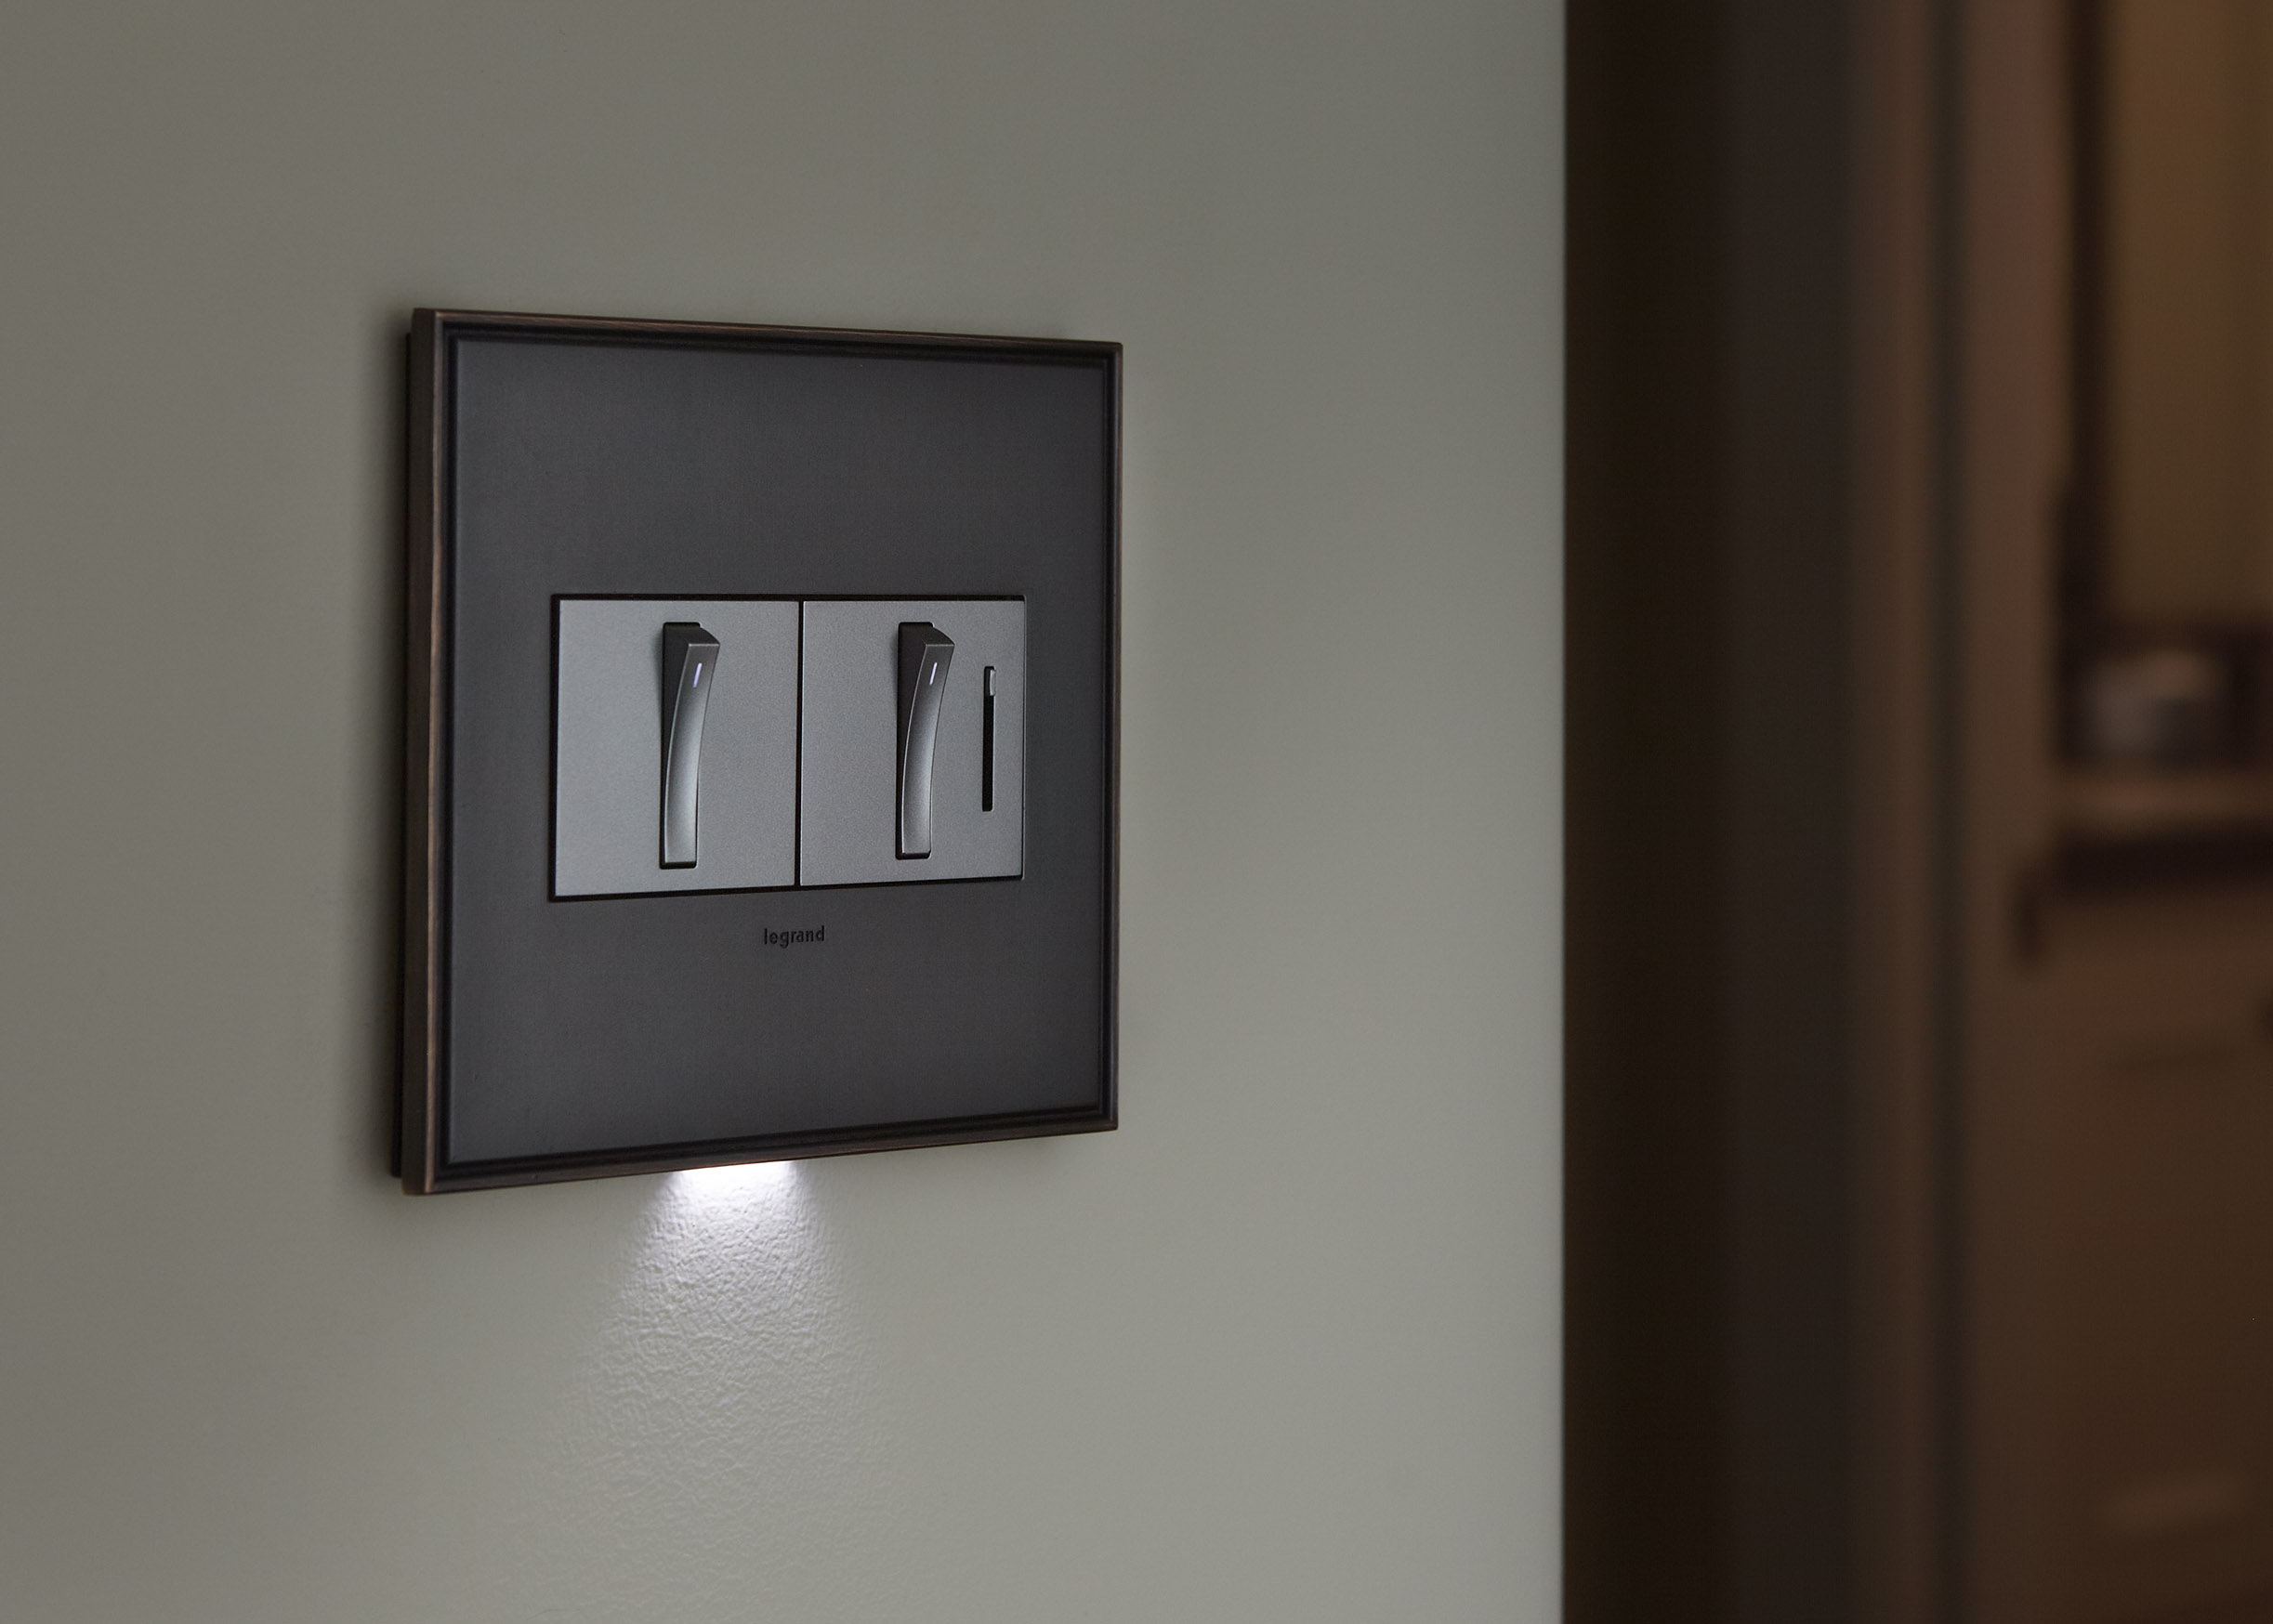
Toggles: Dimmer toggles come in either up-down slides or round knob-wheel designs, and are typically accompanied by an on-off standard flip switch. There’s a style to match your interior, from traditional, contemporary, colored, neutral shades, toggle and touch-style.
Line Voltage Fixtures: If you plan to dim a line voltage light fixture (120 volts or 1,800 to 2,200 lumens), you’ll be able to use a standard dimmer switch and can take standard incandescent, halogen, or Xenon bulbs.
Non Line Voltage Fixtures: If your light source is not line voltage, most manufacturers will specify which specialty dimmer switch that fixture requires, such as a magnetic low-voltage, electronic low-voltage, electronic fluorescent, or LED dimmer.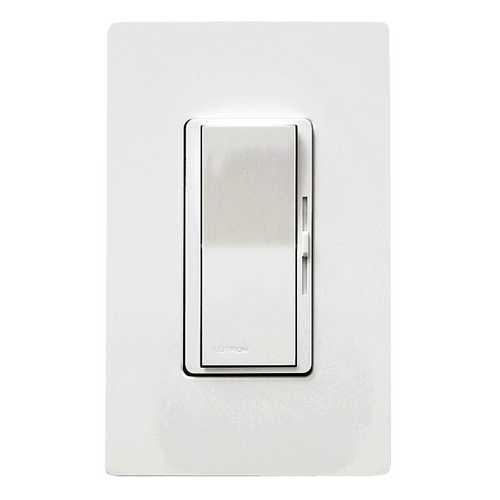
Pro tip: You can also purchase a universal dimmer, which is designed to accommodate all light bulb types.
Pole Configuration: Pole configurations can be used to operate more than one light, depending on your preference.
- A standard single-pole switch has one switch per light and works with a standard dimmer.
- A three-way pole has two different switches per light or light group and will require a three-way dimmer switch.
- Four-way poles have more than two switches that control the same light or group of lights, and these too require special dimmers.
When shopping for dimmers, be sure to read their specific product details to be sure you’ve selected a switch that is compatible with your home configuration.
Getting started
Whether you are installing a single or 3 way pole, you begin by unscrewing your existing switch plate and gently pulling the switch away from the wall so you can access the wires behind it. Do not begin working with these wires until you’ve tested for any live voltage with your voltage tester.
Using a voltage tester
Voltage testers have an LED light, which turns on to verify that the unit’s working. Touch the metal sensor tip of your voltage tester to an exposed area of wire or a screw that is in direct contact with your wires to obtain a reading. If you’re using a non-contact voltage meter, you can also take accurate readings by touching the tip of your meter to a rubber-encased wire. If readings are high (anywhere from 1.5 to 1,000 volts) and the LED light turns red, you likely turned off the wrong switch in your breaker box. Do not begin work until you have successfully located and turned off the circuit associated with your switch. If readings are zero or below 1 volt, you’re safe to continue.
Installing a standard single-pole dimmer
- Take a photo or carefully labeling the wires as they are connected to the existing switch to help you keep track of them.
- Disconnect the common ground wire (green or bare copper wire) which is typically held in place by a screw on your switch box.
- Note: if you are replacing an existing dimmer switch, you may simply need to unscrew and reattach wire nuts connecting all sets of wires, rather than disconnecting them at the base of the switch box. Otherwise, use your Phillips head screwdriver to loosen the screw and unwrap the ground wire.
- Next, remove the “power out” wire that goes to the light fixture by pushing a release clamp in the accompanying slot with your flat-head screwdriver. This wire should easily come free once the small internal release clamp is pushed. This attachment is also known as a slip connection.
- Remove the “power in” wire the same way.
- Attach your ground wire to the screw connection point at the back of your new dimmer switch.
- Loop the wire around the screw, then tighten the screw to mimic the original connection method.
- Connect the “power in” wire by sliding it into the coordinating slip connection port, making sure that it’s pushed all the way in so the exposed tip of the wire is touching the front metal plate. Attach the “power out” wire in the same manner.
- Reattach the switch box and switch plate using your Philips head screwdriver.
Installing a 3-Way Dimmer (i.e. Double-Pole)
- Begin by removing the screws that hold the switch plate and the switch box so that you’re able to access the wires at the back of the switch box.
- Wrap a small piece of electrical tape around the wire labelled “common,” which is typically black, to tag it for later.
- Fully remove your existing switch by disconnecting all wires at their attachment points on the rear of the box. If they are quick-connect slip attachments, you can simply insert your flat-head screwdriver and they will release. If they are screw attachments, loosen the screws and unwind your wire.
- Next, attach the copper or green ground wire from the box to the green ground wire connected to your new three-way dimmer switch. Be sure to strip approximately 0.75 inches of the rubber casing away from the connecting ends of both wires to ensure easy twisting and guarantee a firm connection.
- Twist your wire on clockwise and cover with a wire nut to cap the bare ends and secure the connection.
- Using the same method, connect the black dimmer wire to your common wire, which you previously tagged with electrical tape. Make sure to remove the tape.
- Attach the load wire to the red wire and the remaining wire to the last common wire in the wall. Replace all screws and the switch plate, then turn on your circuit breaker and test the switch.
Some things to know about working with wires
Homes built or re-wired after the 1940s all follow a standard wire color code to help simplify the wire identification process. Typically, red wires are secondary live wires connected to a 220-volt circuit and black wires are the other type of “hot” wire, which may serve as the power in and power out lines. Green wires are ground wires, which act as tempering agents for the regulation of charge. White and grey wires are neutral wires used to connect items in a circuit and balance voltage load. In some cases, you may also see blue, yellow, or other colored wires used for special purposes to indicate alternative wiring use. Regardless of color, a voltage tester should still be your primary tool in identifying live wires.
If this is your first experience with the electrical connections in your home, you may want to spend a little time refreshing your understanding of how a circuit functions. Once you understand the basics, installing a dimmer switch on your own can help you reduce the cost and time spent with an electrician.
Knowing how to work with wires can really come in handy when replacing damaged light switches or updating switches periodically.
Once you’ve done it though, you’ll sleep a lot better knowing that you can install your own dimmer switch, and create a lighting plan that satisfies all your needs.
*Legal Notice: Destination Lighting content is for information only. It is strongly recommended that you consult a professional before attempting any lighting or wiring projects. The company is not liable for misuse of its content.