How to install sconces
How to Install Wall Sconces
Before you start your own wall-sconce installation project, it’s a good idea to consult with a professional. Electricians know all about your home’s wiring system and can provide site-specific information to help with the job. You may need an electrician to install the fixtures. Even if you are confident that you can do the installation work, a professional’s expertise can ensure that the job gets done right.
Power and Prep Work
Turn off the power to the entire room at the breaker box before you begin your project. This is electrical work, and you don’t want to see sparks at any point during the process. After that, you can mark the locations where you want to install each fixture.
Mark your desired locations with a pencil. A tape measure will confirm that fixtures have the same height on the walls before you make your first cuts, and you can double check your work before you move onto the next step. Most sconces hang 72 inches above the floor, but you can adjust this recommended height to match other fixtures in your home. Once you know where you need them, draw your cut lines where you plan to install electrical boxes and switches.
Cut, Drill and Mount
Now that you have the box positions marked and measured, you can start making cuts. Remember to leave enough room for the lip to rest properly, and use a drywall saw to make clean cuts quickly. Once you have your drywall cut, you can insert the electrical boxes. These use screws to stay in place, and they have holes in their sides to accommodate incoming wires.
You can cut drywall in the areas where you plan to run wires, too. Just make sure to cut these carefully, because you’re going to save these pieces of drywall and reinstall them later. Clean edges will make the post-installation repairs much easier, and you won’t have to use as much drywall putty to put everything back together again.
Run the Wires
It’s a smart time to make sure your power is still off, because this is when you will begin working with electrical circuits. If you already have a switch that controls lights in your room, you may be able to install your sconces on the same circuit. This would allow you to use your existing switch to control all of your wall sconces. If you don’t already have one, or if you want to use a new switch to control the new fixtures, you can find switched sconces that have everything you need.
Run the wires through your walls. You can leave their ends inside the new electrical boxes and switches. Once these wires are in place, you can install the fixtures themselves. New sconces usually have labels on their wires to show where to connect each. In general, similarly-colored wires connect (with black wires going to black wires and copper wires to copper). Wrap and cap each of these connections to make sure they stay in place.
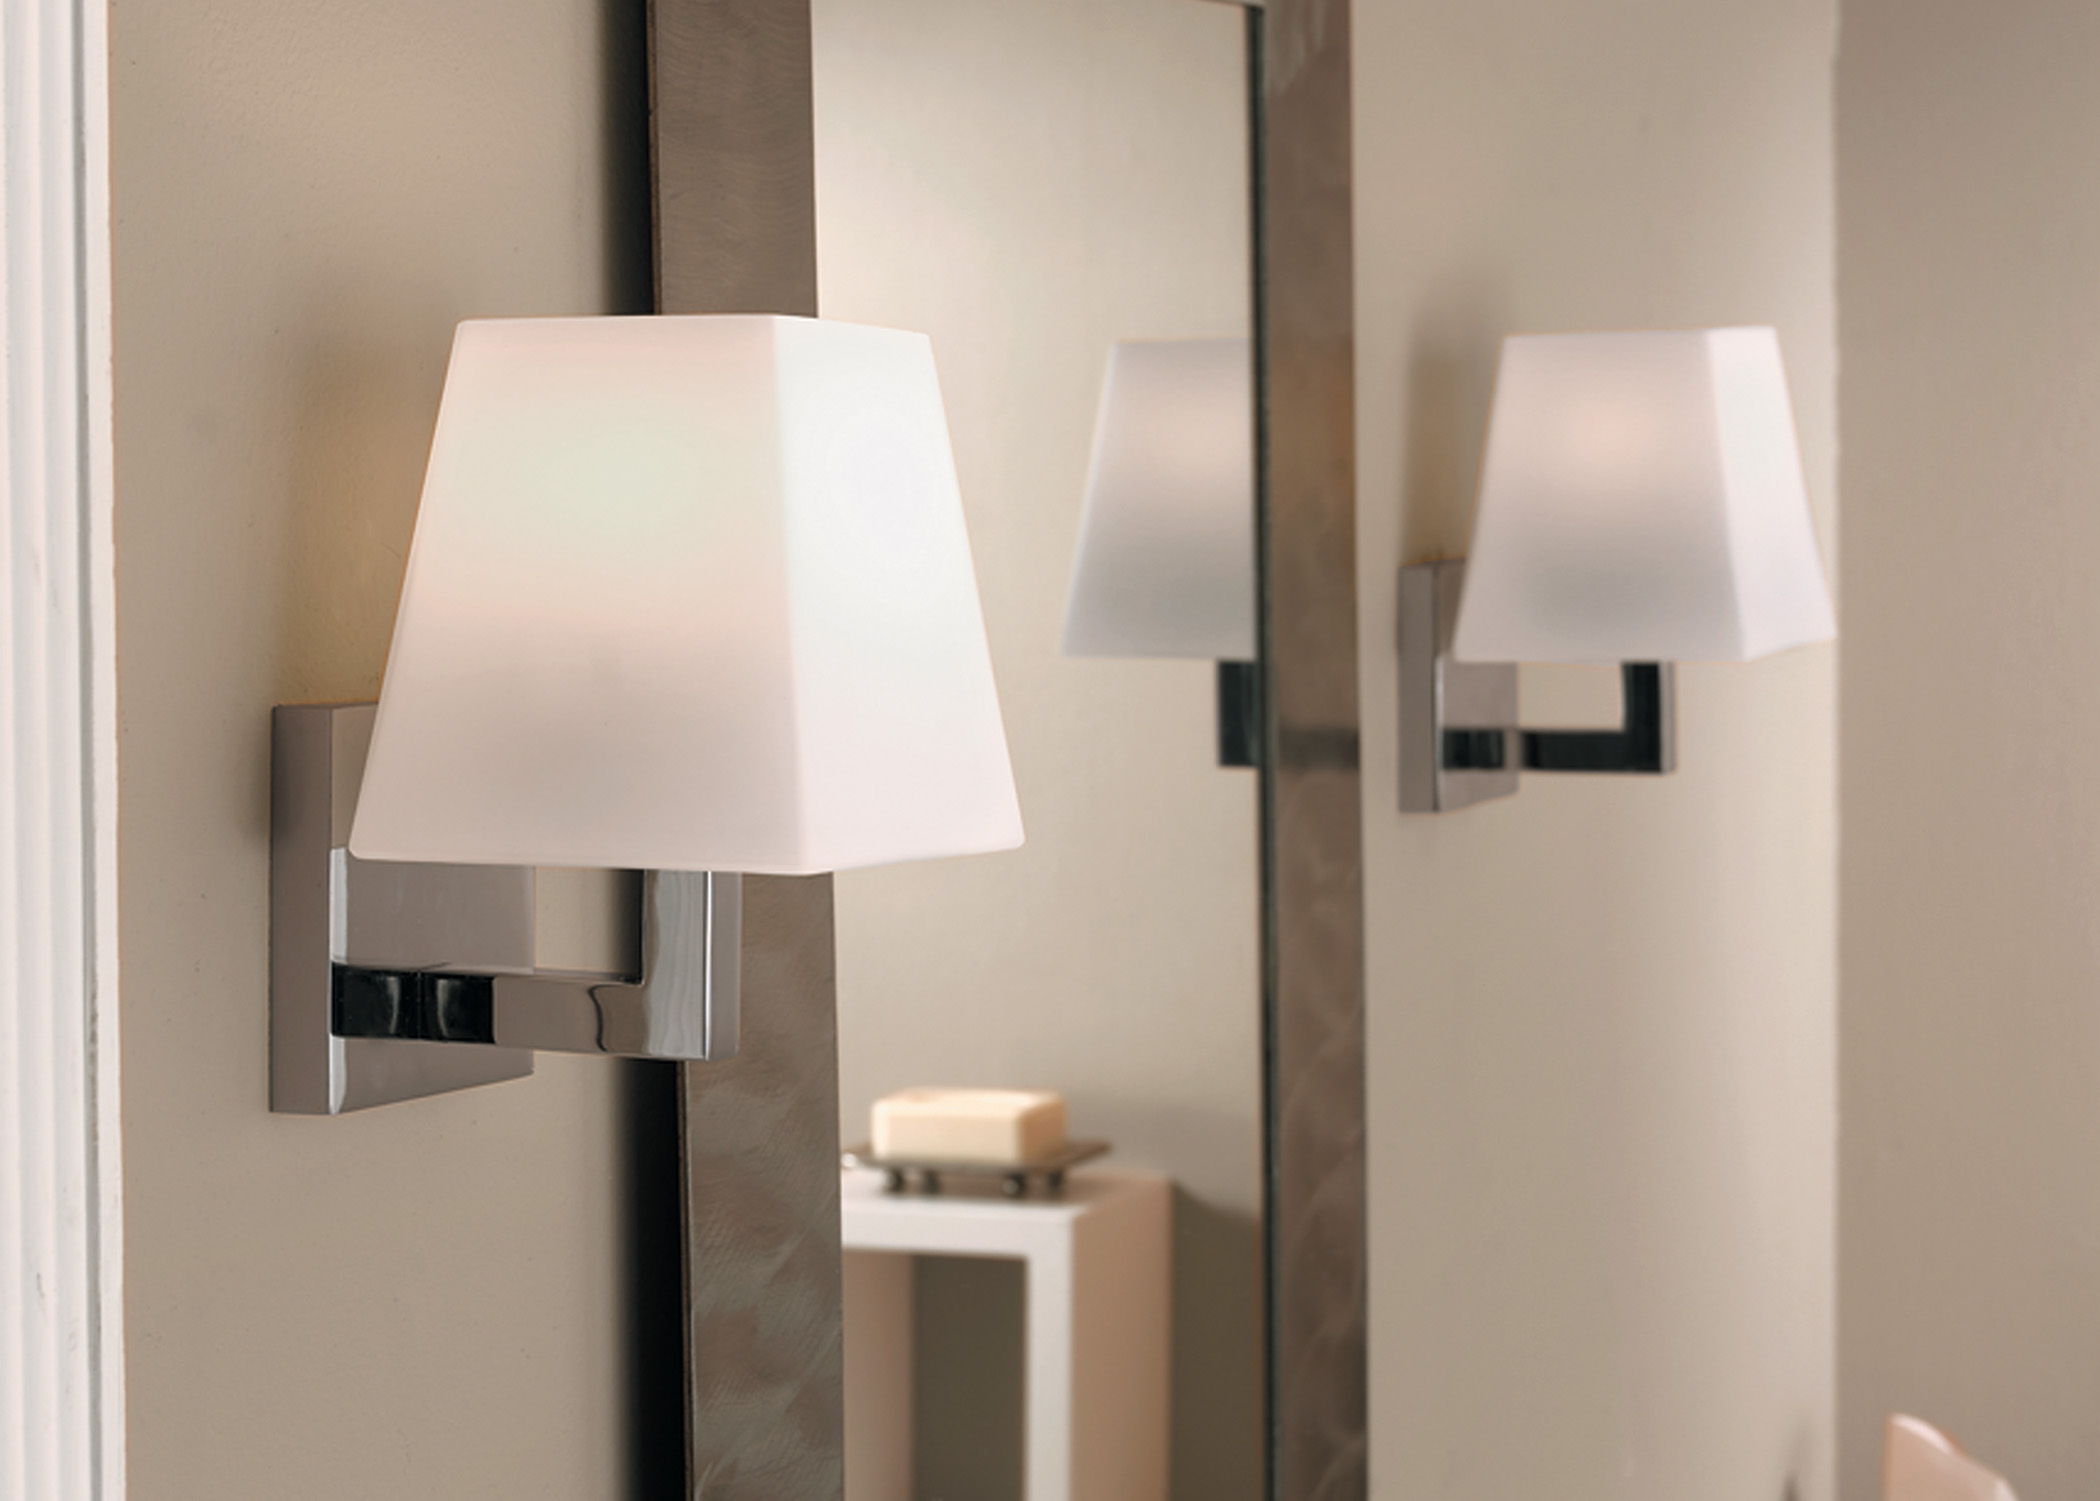
Finding the Best Wall Sconces for Every Situation
Sconces should offer enough light to illuminate their surrounding spaces, and they should have diffusers to reduce glare at eye level.
Some areas may benefit from modern brass wall sconces, which add character and accent empty walls. Others need low profiles, especially in narrow hallways.
You may even choose LED sconces with dimmers to conserve energy. Choose a set that suits your needs, and get started.

The Final Steps
By now, you’ve done the toughest parts of the job. Check to make sure your wires are all connected and capped, and screw the fixtures into place. At this point, it’s safe to turn the power back on and check your work. Put the bulbs in place, make sure the lights turn on and check the dimmers to make sure everything functions. If they do, you can reinstall and paint the drywall where you looped in your wiring.
Proper measurements, clean cuts and thorough checks create a foundation for safe DIY installations. Take your time and consult a pro if needed. Once the job is complete, your new wall sconces will provide a glow of satisfaction every time you switch them on.
*Legal Notice: Destination Lighting content is for information only. It is strongly recommended that you consult a professional before attempting any lighting or wiring projects. The company is not liable for misuse of its content.